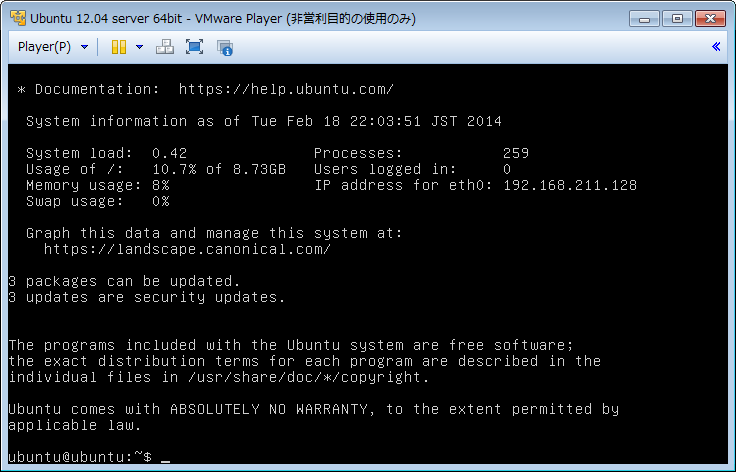
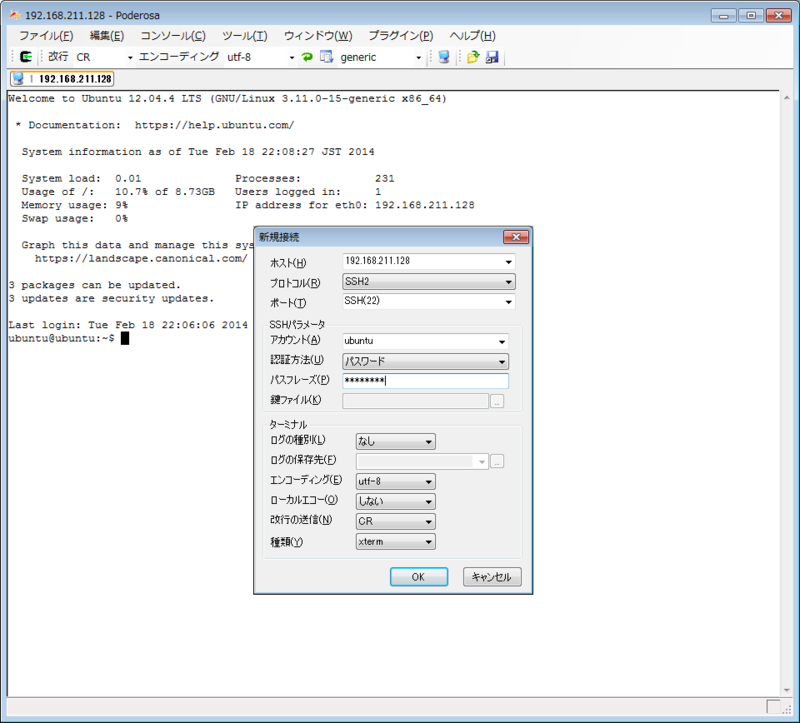
今回は、Windows上に Ubuntu Server の開発環境を作る手順のメモです。
仮想化ツールには「VMware Player」を使い、ゲストOSには「Ubuntu Server 12.04LTS」をチョイスしました。
1. VMware Player for Windows をインストールする
1.1. VMware Player をダウンロード
http://www.vmware.com/jp/products/player
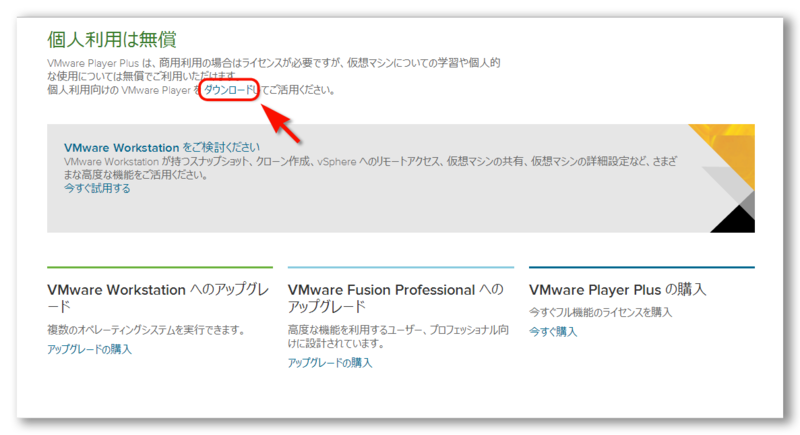
なお、
個人利用は無償
VMware Player Plus は、商用利用の場合はライセンスが必要ですが、仮想マシンについての学習や個人的な使用については無償でご利用いただけます。
個人利用向けの VMware Player を ダウンロードしてご活用ください。
とのことです。
「VMware Player and VMware Player Plus for Windows」をダウンロードします。
https://my.vmware.com/jp/web/vmware/free#desktop_end_user_computing/vmware_player/6_0
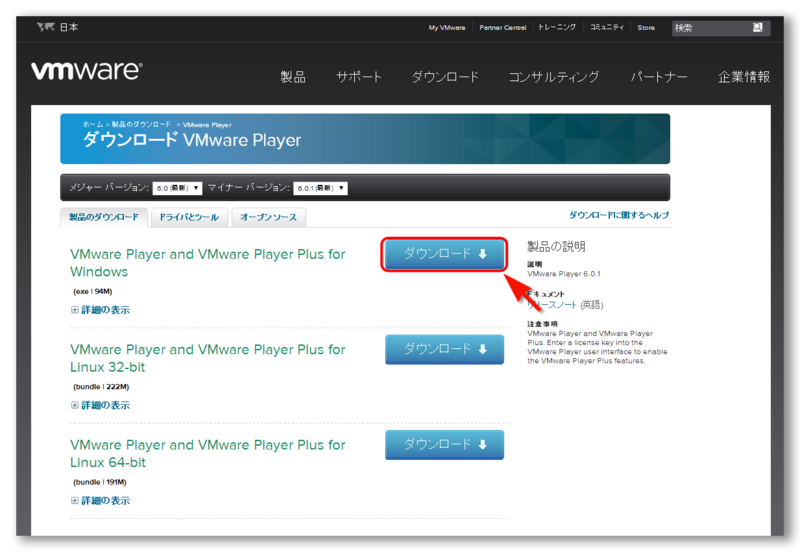
「VMware-player-6.0.1-1379776.exe」がダウンロードされました。
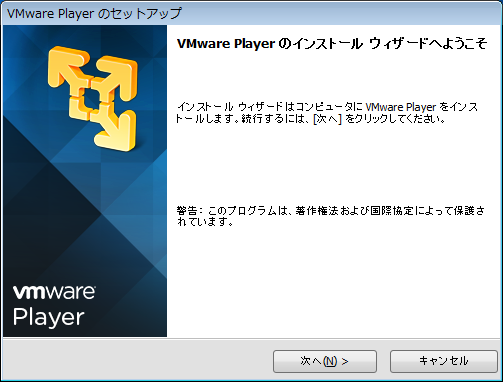
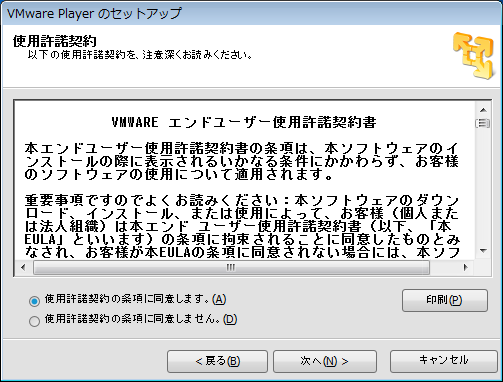
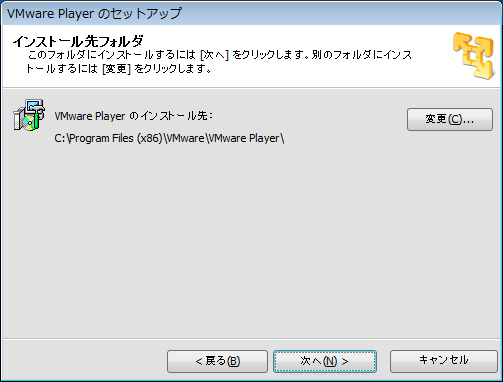
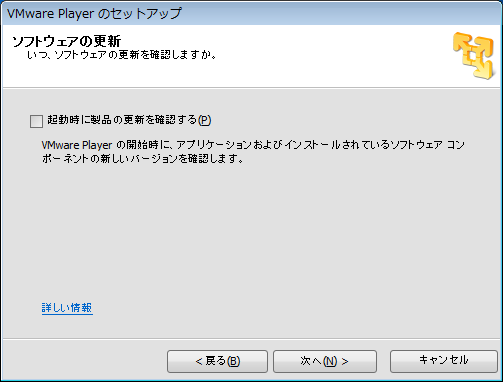
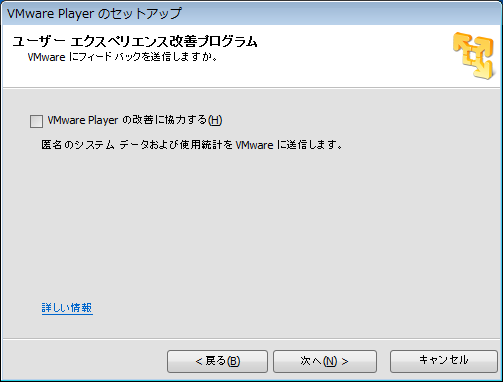
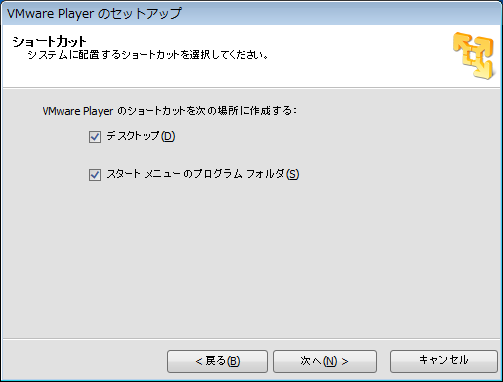
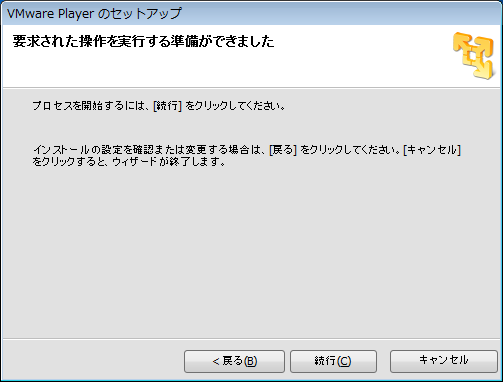
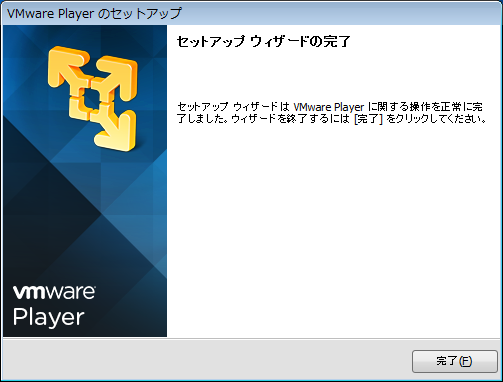
1.2. exeファイルをダブルクリックしてインストール
特に困ることはないはず。
2. UbuntuのISOイメージをダウンロードする
http://www.ubuntu.com/
から、「Server」を選択。
http://www.ubuntu.com/server
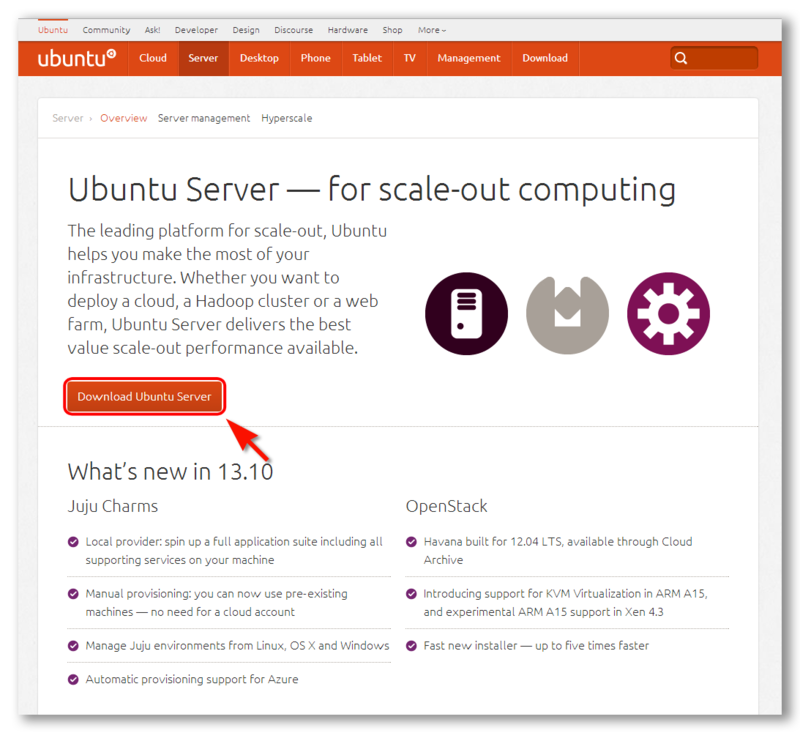
から、「Download Ubuntu Server」をクリックします。
http://www.ubuntu.com/download/server
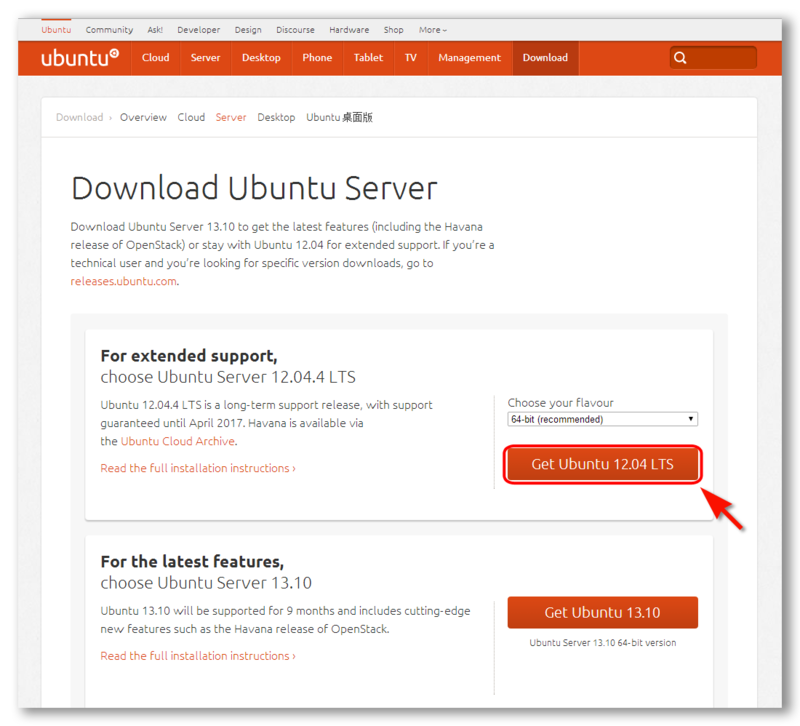
から、「Choose your flavour」に「64-bit」を選択し、「Get Ubuntu 12.04 LTS」をクリックして、「ubuntu-12.04.4-server-amd64.iso」をダウンロードします。
ちなみに、コマンドプロンプトで↓のように実行すると、自分のWindowsマシンが何ビットか分かるようです。
> wmic os get osarchitecture
OSArchitecture
64 ビット
3. VMware Player から仮想マシン起動
3.1. VMware Player を起動
VMware Playerを起動し、「新規仮想マシンの作成」をクリック。

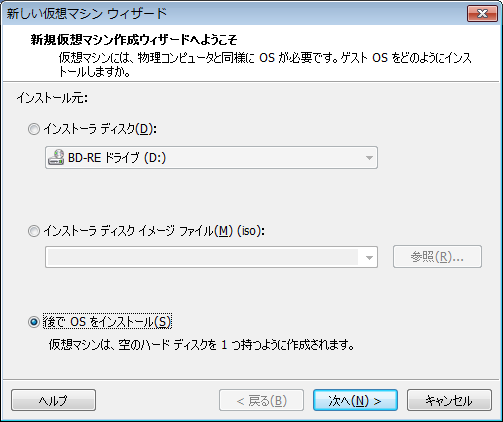
「後でOSをインストール」を選択します。
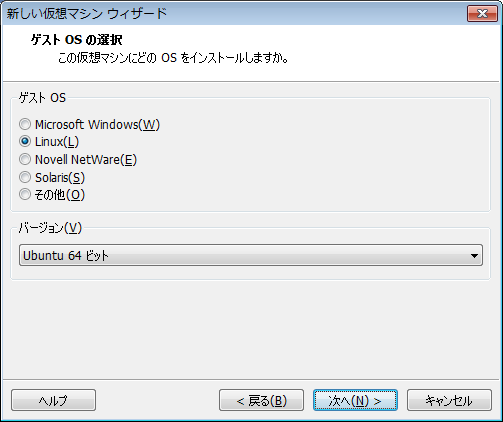
ゲストOSを以下のように選択します。
| ゲストOS | Linux |
| バージョン | Ubuntu 64ビット |
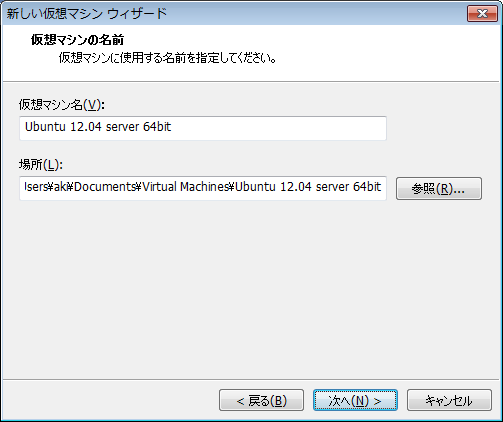
仮想マシンの名前を以下のように選択します。
| 仮想マシン名 | Ubuntu 12.04 server 64bit |
| 場所 | C:\Users\aki\Documents\Virtual Machines\Ubuntu 12.04 server 64bit (※仮想マシン名を入力すると自動で変更されます) |
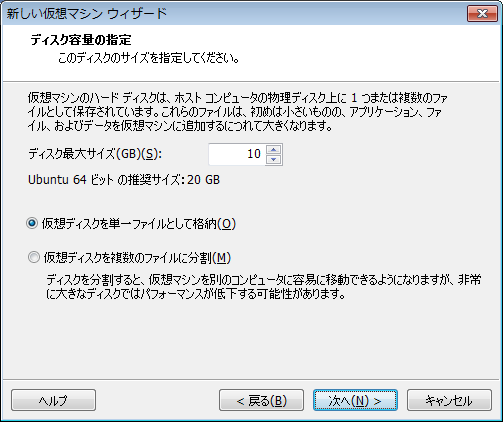
ディスク容量を指定します。
| ディスク最大サイズ | 10.0 GB (※テスト用なので小さめにしてみました) |
| その他 | 「仮想ディスクを単一ファイルとして格納」にチェック |
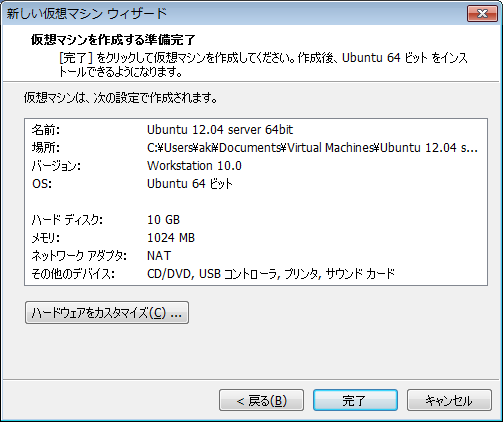
準備完了しました。
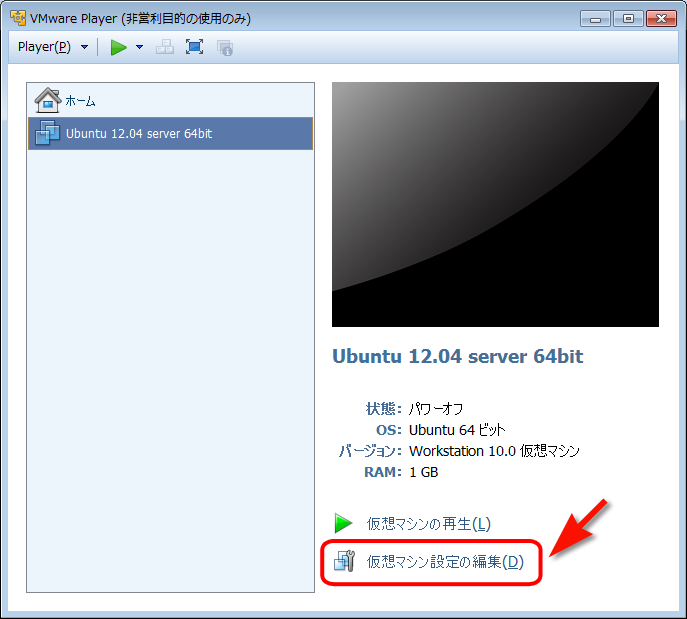
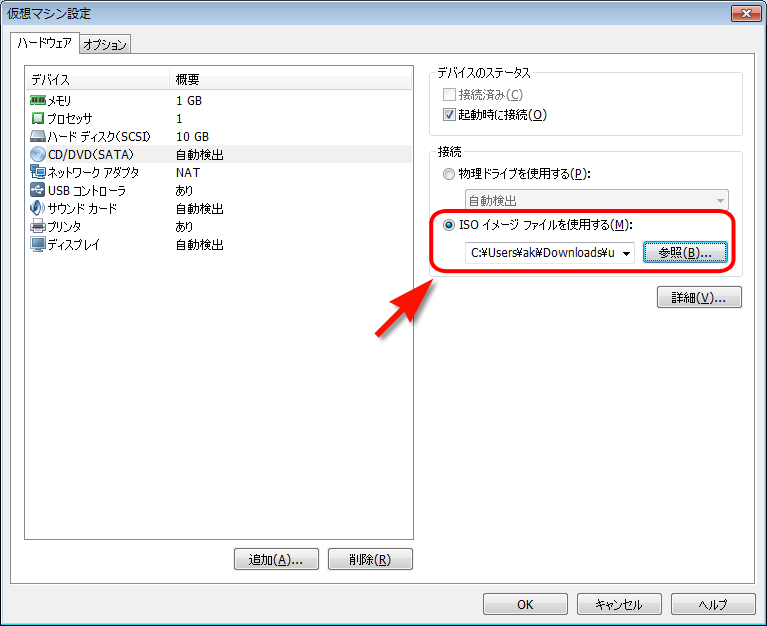
「仮想マシン設定の編集」を選択します。
「CD/DVD(IDE)」で、「ISOイメージファイルを使用する」で、ダウンロードしたISOイメージを指定します。
(ここで、「メモリ」も設定値も変更可能)
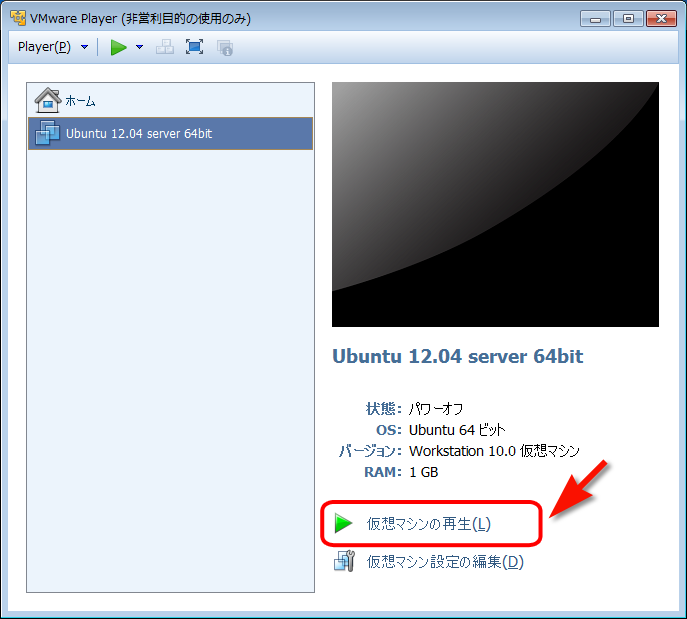
「仮想マシンの再生」
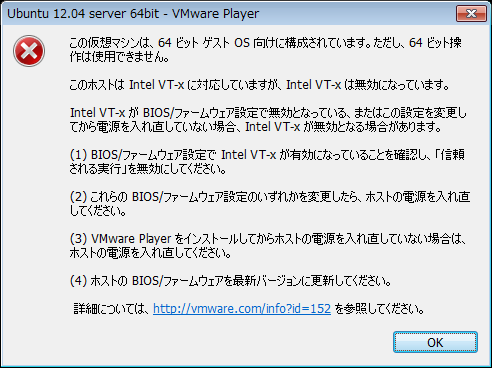
おっと、ここでエラーが。
BIOSの Intel VT-x 設定が無効になっているとのことです。
仕方ないので、BIOSの仮想化設定がOFFになっているようなので、ONにしていきます。
参考
http://c-through.blogto.jp/archives/28788420.html
3.2. BIOS設定を変更
ホストマシンを再起動し、起動中に VAIOロゴが出ているタイミングで F2 を押すと、BIOS設定画面に切り替わります。

カーソルキーと Enterキーを操作して、「Advanced」タブの「Intel(R) Virtualization Technology」を [Disabled] から [Enabled] に変更して、
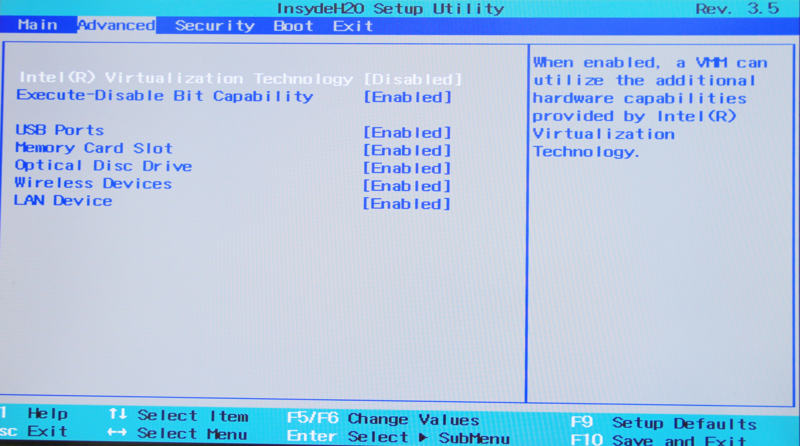
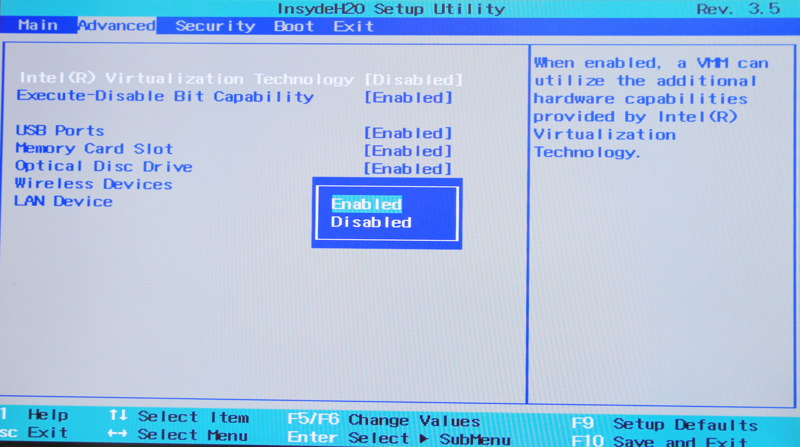
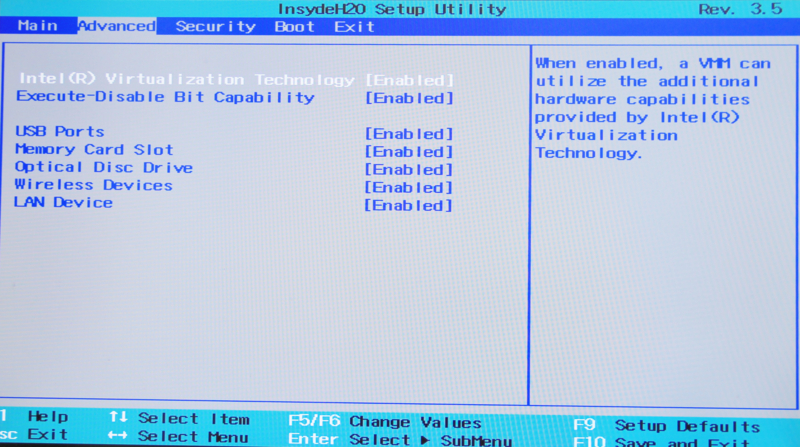
F10 で設定変更を保存して、BIOS設定画面を Exit します。

再度、VMware Player を同じように起動します。
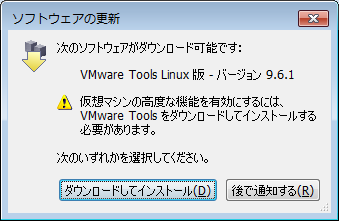
VMware Toolのソフトウェア更新のダイアログが出たら、無視してもOKです。
(Ubuntu server しか入れない想定なので。)
4. Ubuntu Server をインストール
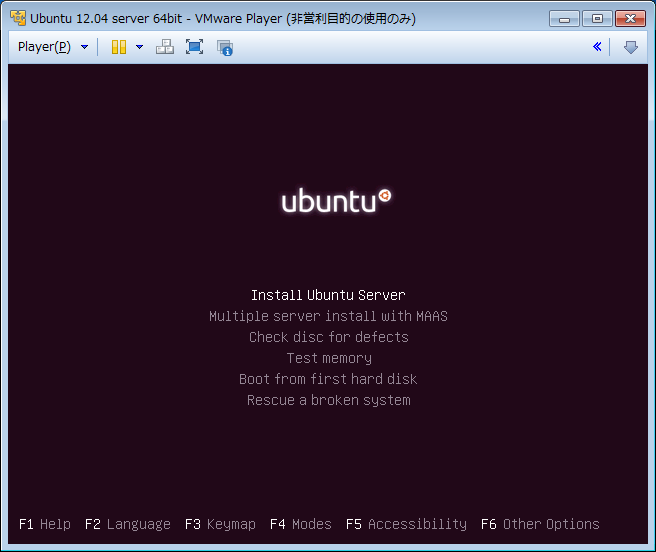
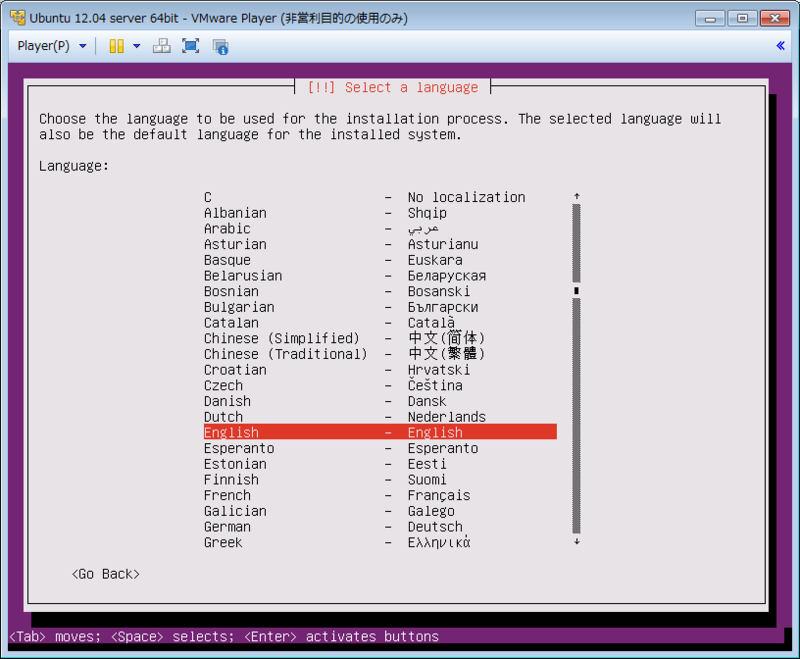
Language: English

「Install Ubuntu Server」を選択します。
Select a language: English
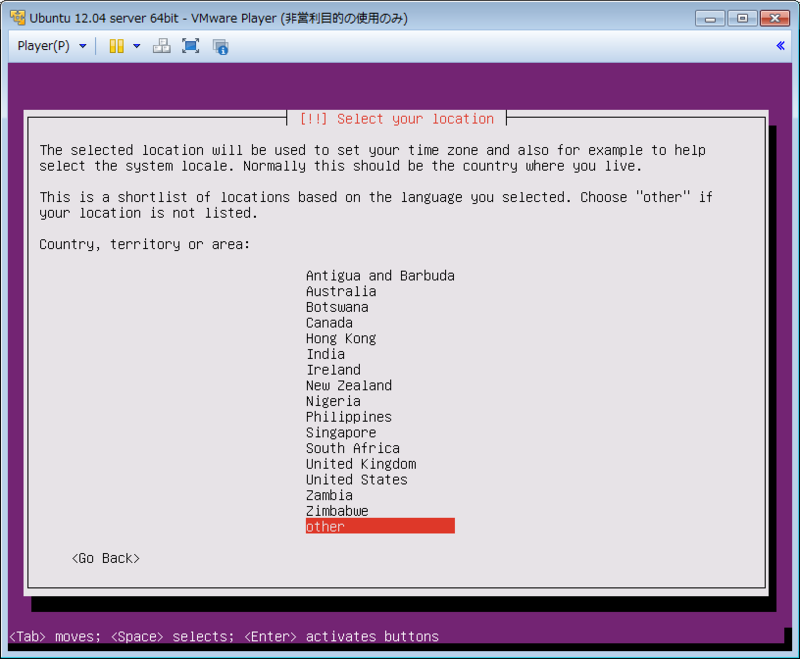
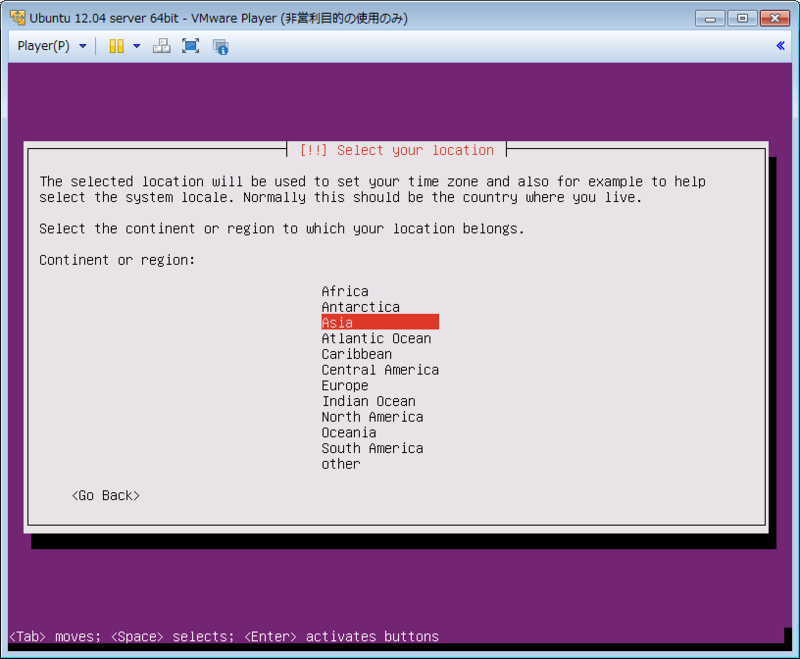
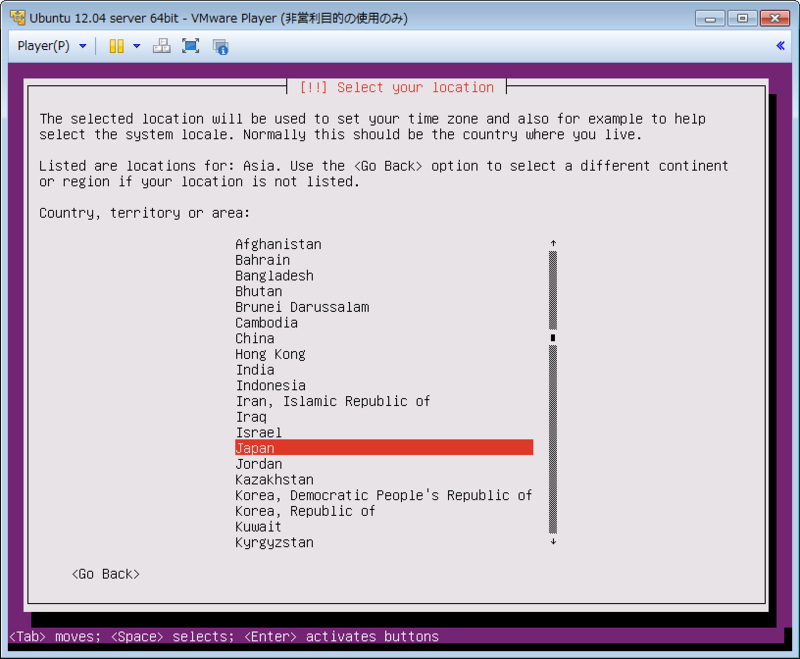
Select your location: other -> asia -> Japan
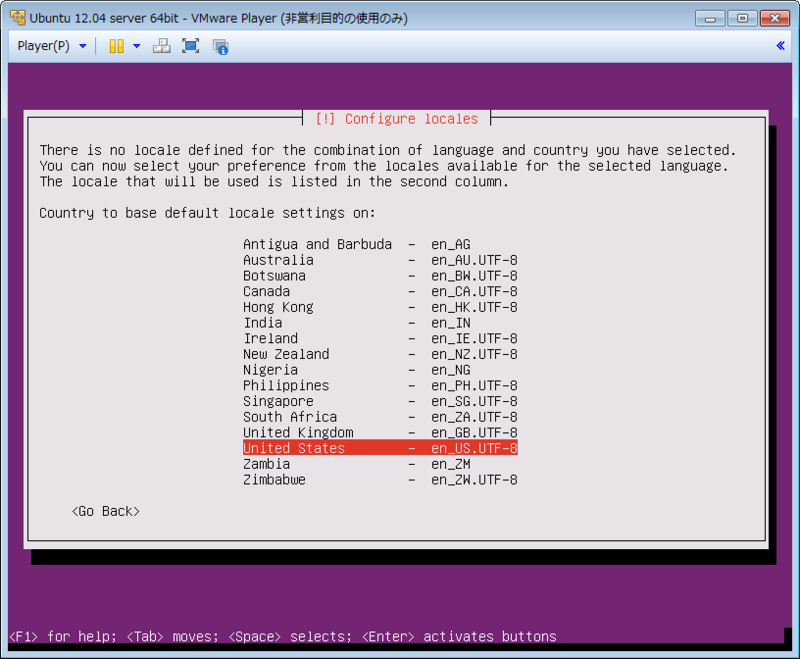
Configure locales: United States - en_US.UTF-8
Configure the keyboard
Detect keyboard layout?: No

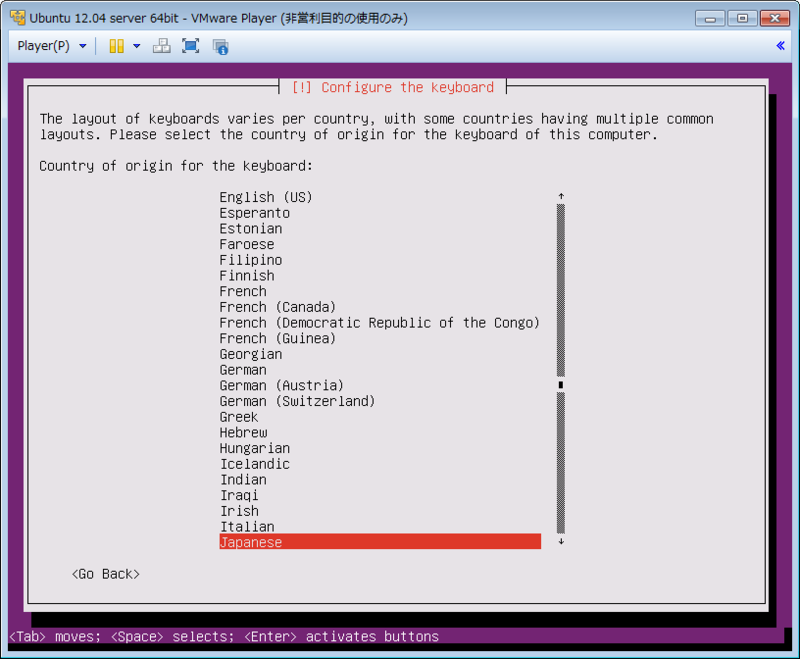
Configure the keyboard: Japanese -> Keyboard layout: Japanese

(1分放置)
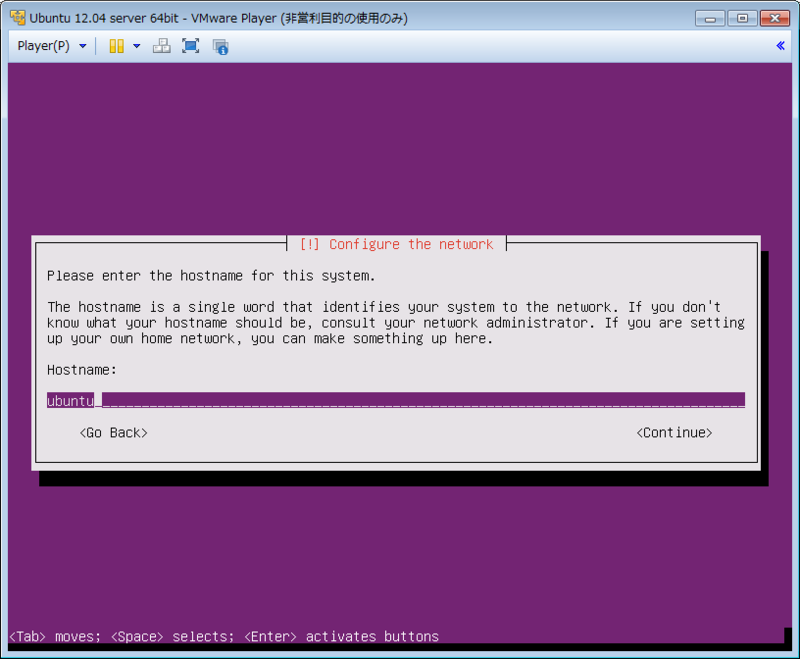
Configure the network
Hostname: ubuntu
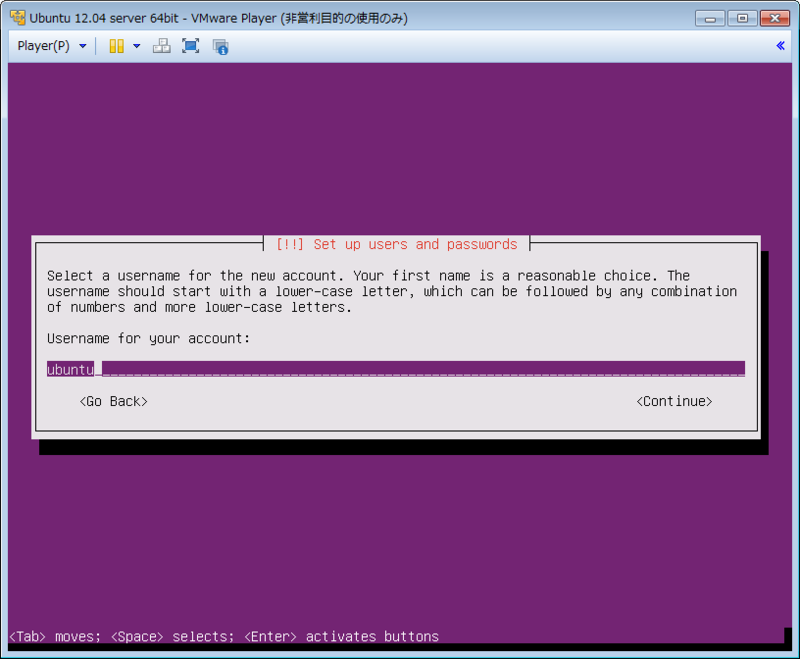
Set up users and passwords
Full name for the new user: ubuntu
Username for your account: ubuntu

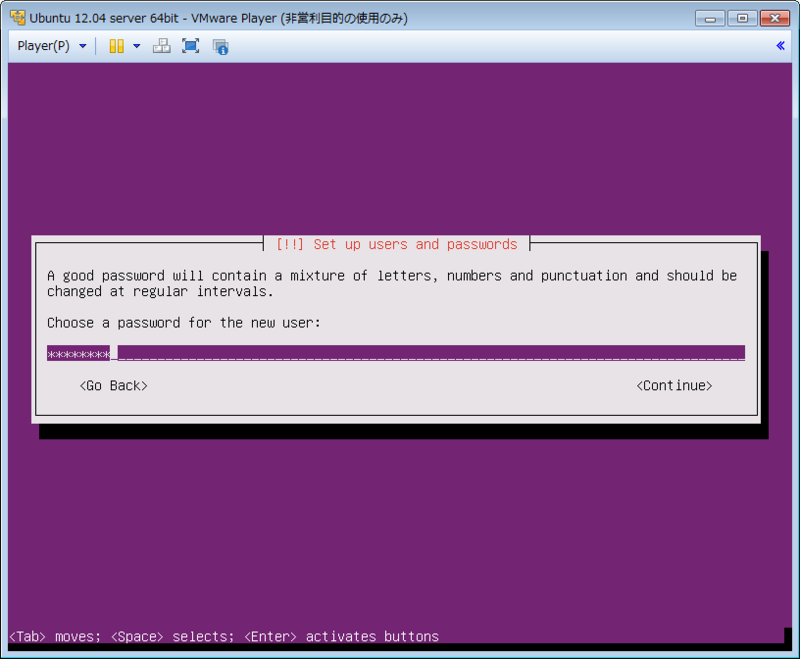
Choose a password for the new user: password (※もちろんセキュリティを考慮して随時変更してください)
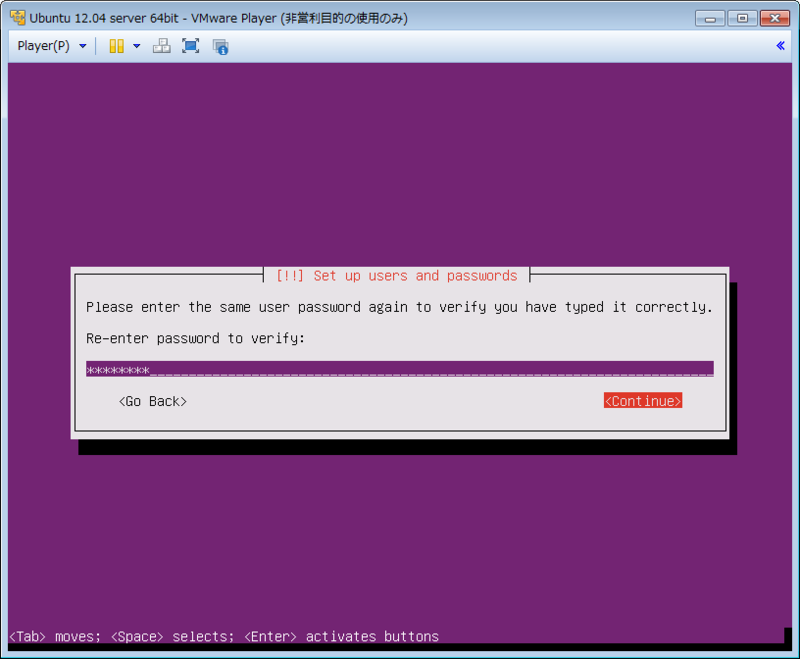
Re-enter password to verify: 同上
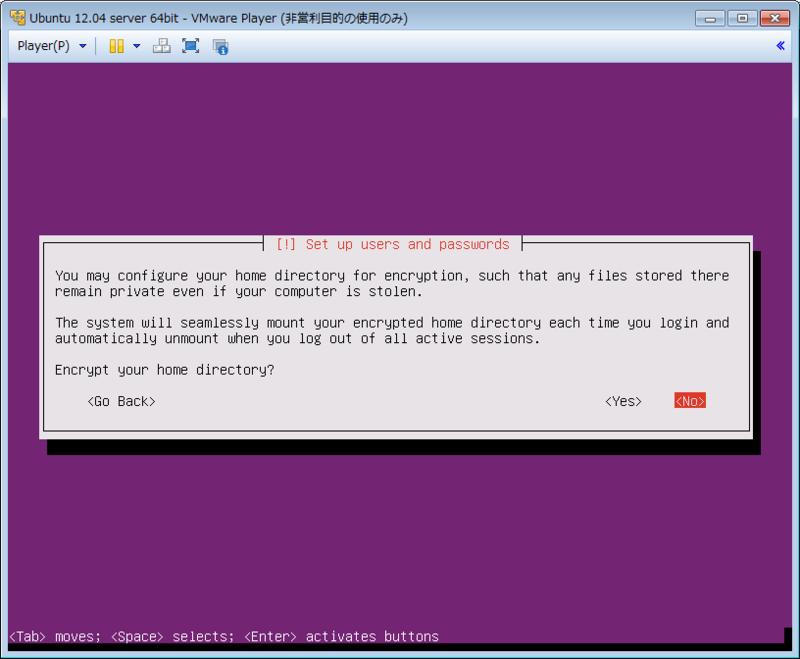
Encrypt your home directory?: No (※どちらでも)
(1分放置)
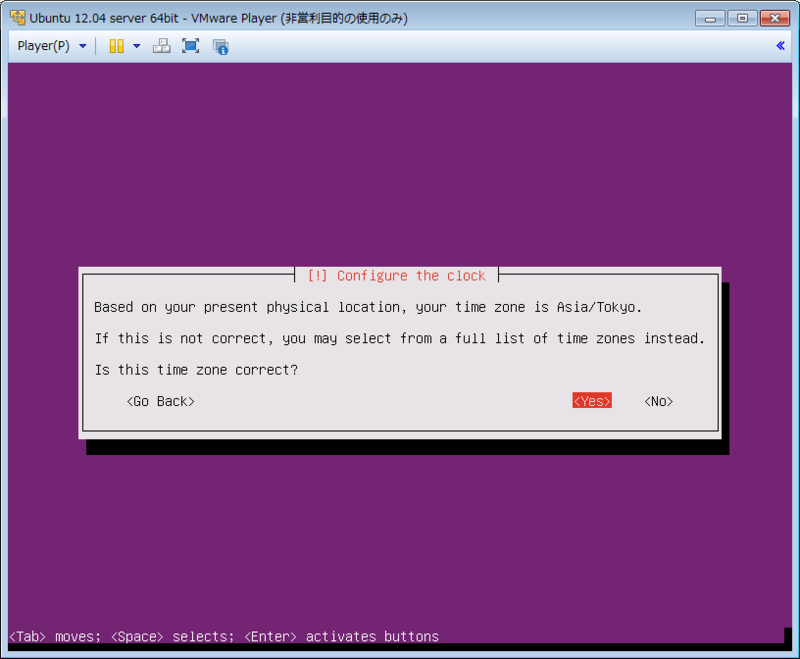
Configure the clock
Is this time zone correct?: Yes
Partition disks
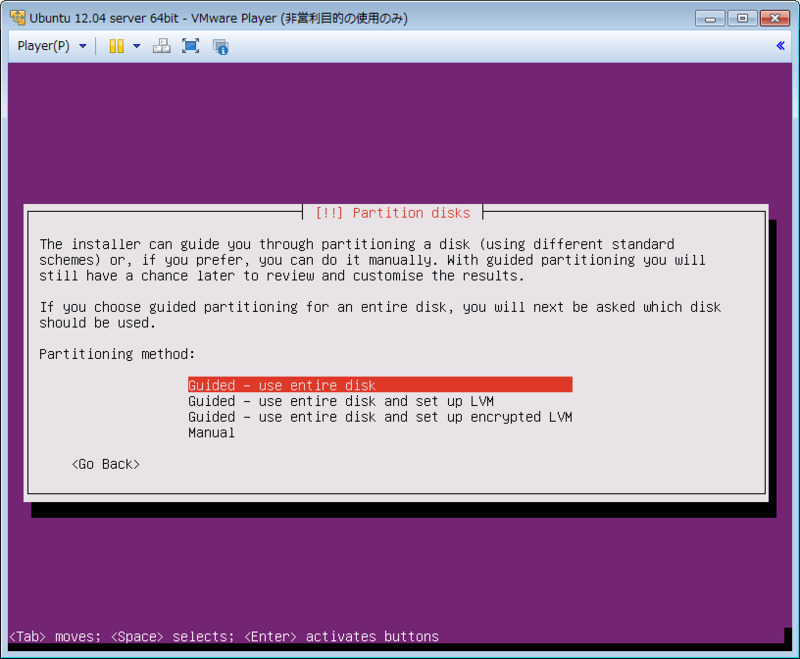
Partitioning method: Guided - use entire disk (※面倒なので全部!)
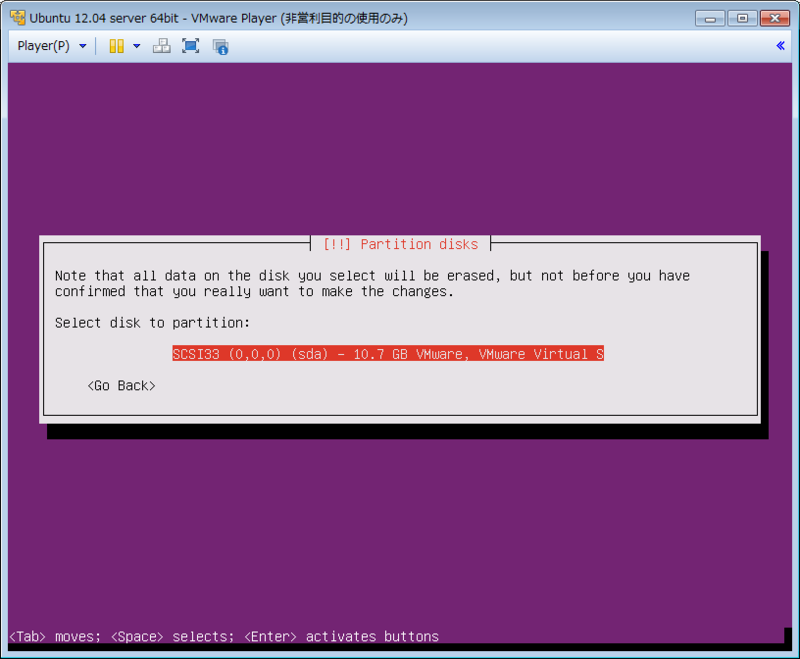
Select disk to partition: SCSI3 (0,0,0) (sda) - 10.7 GB VMware, VMware Virtual S
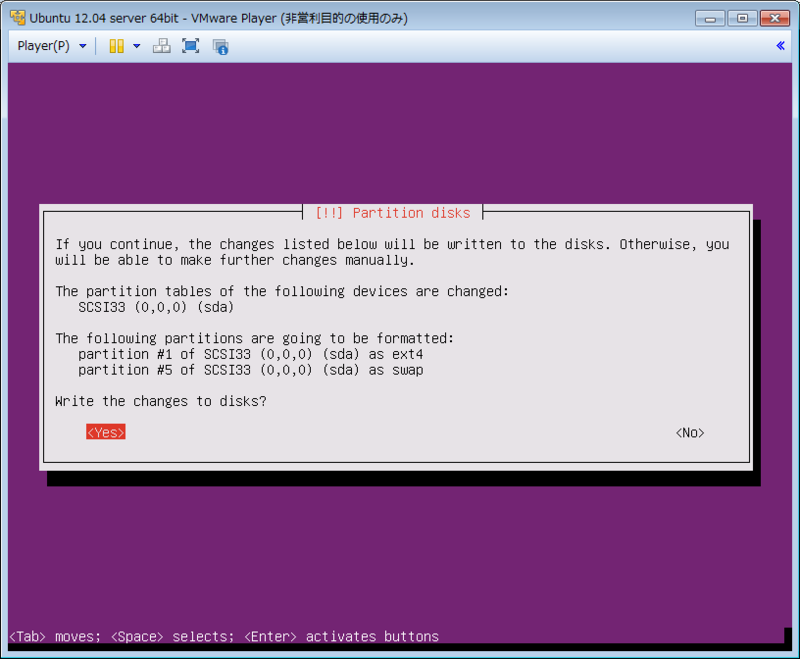
Write the changes to disks?: Yes
(2分放置)
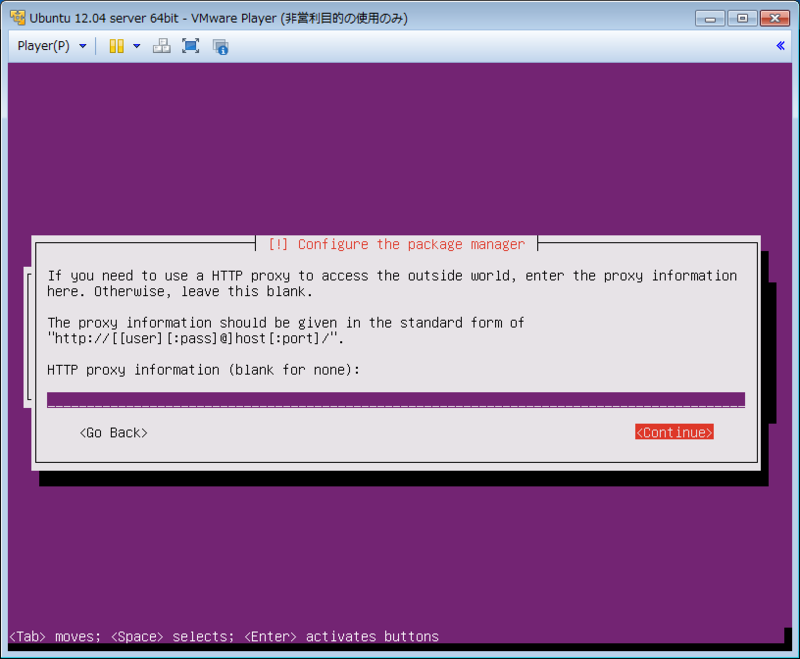
Configure the package manager
HTTP proxy information (blank for none): (入力なし)
(2分放置)
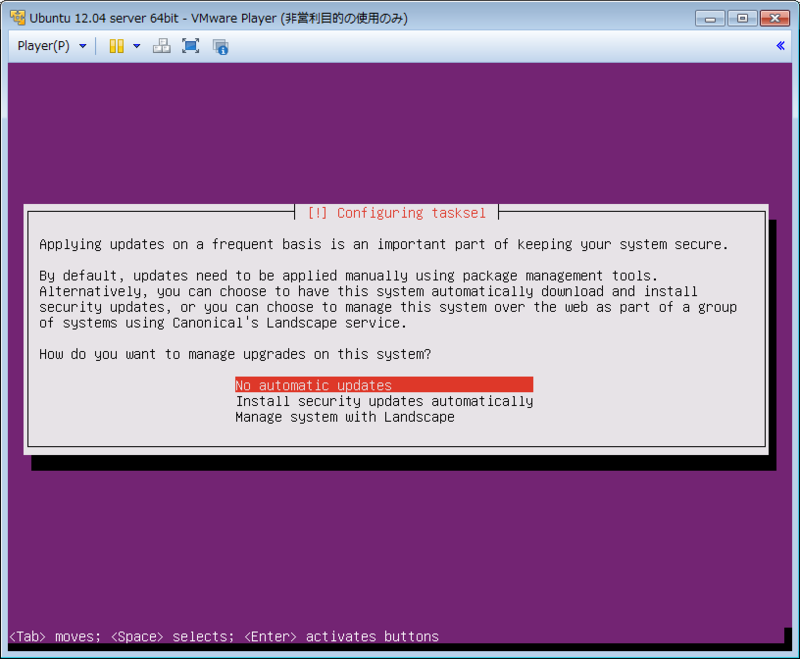
Configuring tasksel
How do you want to manaage upgrades on this system?: No automatic updates
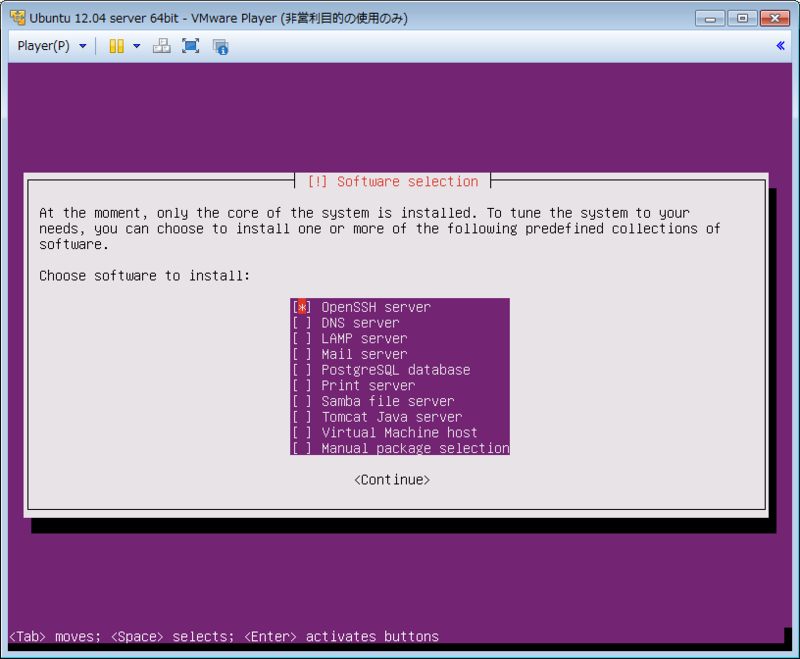
Software selection
Choose software to install: 「OpenSSH server」だけチェックを入れる
(1分放置)
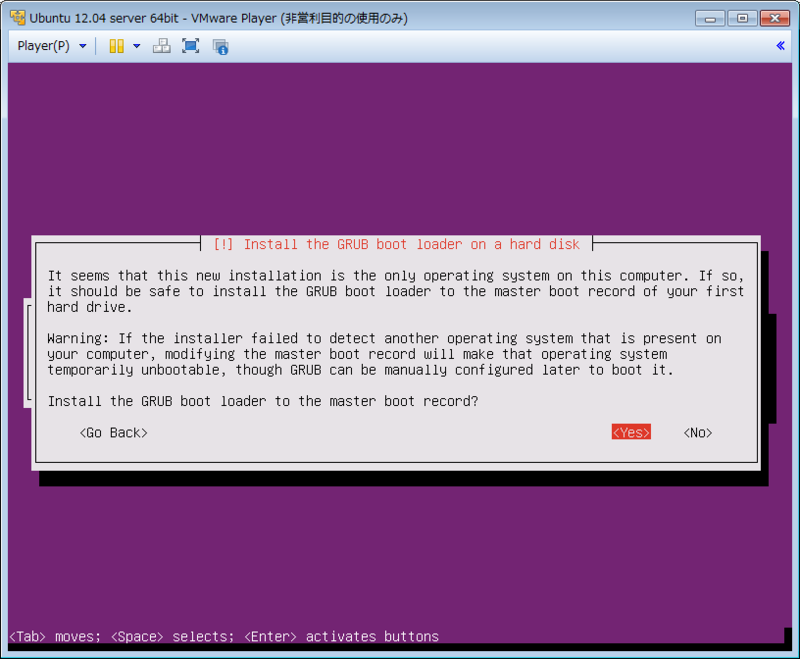
Install the GRUB boot loader on a hard disk: Yes
(1分放置)
Finish the installation


